Preparation in the PDM environment
Before manually updating your SOLIDWORKS Toolbox in the SOLIDWORKS PDM vault, ensure that the database and the archive have been fully backed up.
Next, make sure that no Toolbox parts are referenced by assemblies that are currently checked out. During the update process, some parts of the Toolbox will be rearranged and updated. These actions are only possible with checked-in data, which is why the update will fail if files are checked out. In the best-case scenario, check in ALL files beforehand.
How to check if SOLIDWORKS Toolbox parts are currently checked out:
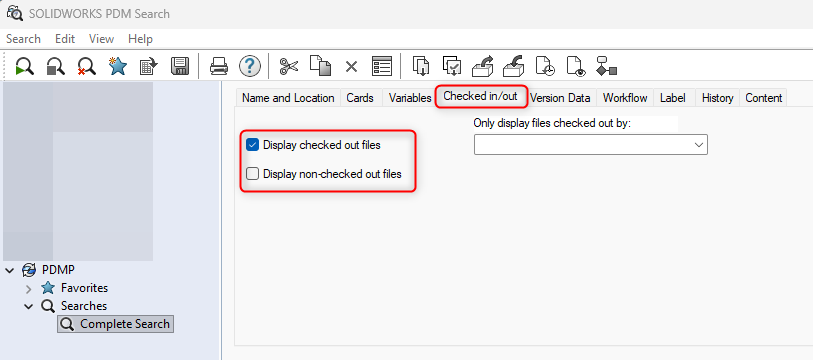
Log into a local vault view as "Admin", use the search tool (search.exe), and then check if any files in the "Toolbox" folder inside the vault are checked out.
Run the SOLIDWORKS PDM report "ListAllCheckedOutParentsWithToolboxParts.crp" to determine whether Toolbox parts are being used by checked-out assemblies. For more information, see also QA00000115829 in the DS Knowledge Base. The Knowledge Base can be found at https://support.3ds.com/knowledge-base/
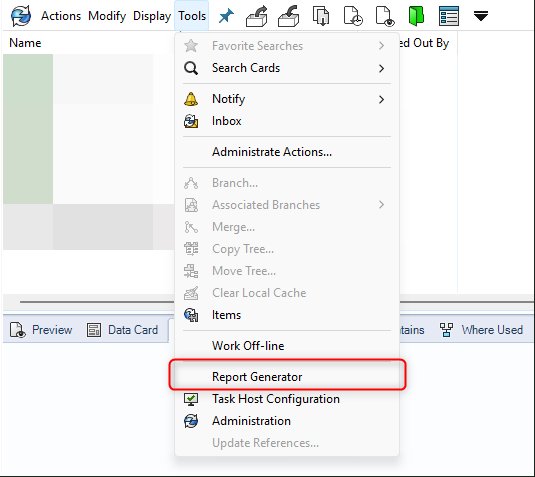
Check in all files listed in the report results.
How to Update the Toolbox
Ensure that no one is accessing the Toolbox during this process.
Log into your local PDM view as "Admin".
Check out the whole Toolbox folder in the PDM vault > usually "SOLIDWORKS Data".
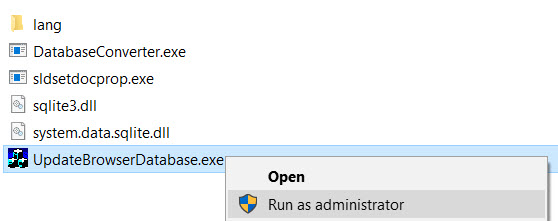
Navigate to the SOLIDWORKS installation folder > usually "C: \ Program Files \ SOLIDWORKS Corp \ SOLIDWORKS"; then right-click on "Toolbox \ data utilities"; right-click on "UpdateBrowserDatabase.exe" and select "Run as administrator".
Click on the "..." button to browse for the "swbrowser.sldedb" file.
Click the "Update" button to start the upgrade.
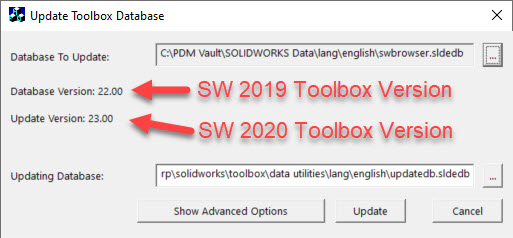
Confirm that the Toolbox update was successful by repeating step 4 and step 5 again. The database version should now match the update version.
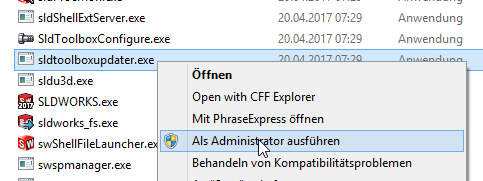
Navigate to the SolidWorks 20XX installation folder, typically "C:\Program Files\SolidWorks Corp\SolidWorks", and run "sldtoolboxupdater.exe" as administrator.
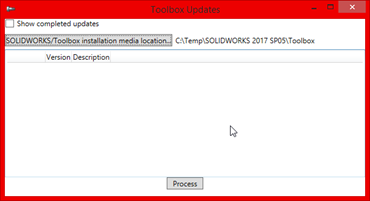
SOLIDWORKS/Toolbox installation media location = file path to the Toolbox ZIP files within the SOLIDWORKS installation files.
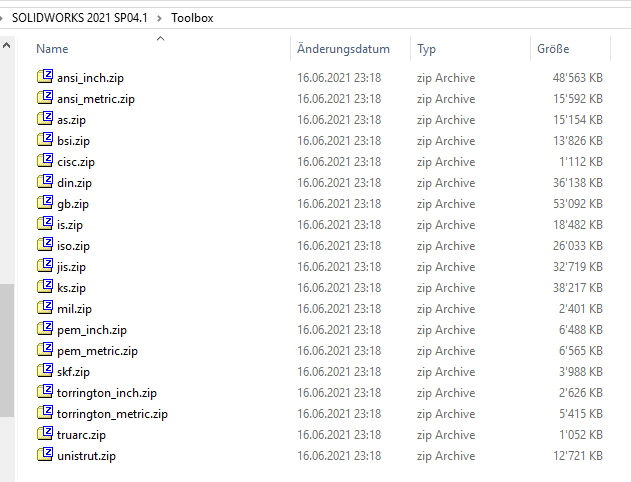
Note: In the administrator installation image, these files are located in \64bit\Toolbox.
Click the process and wait until all files are marked with a green check mark.
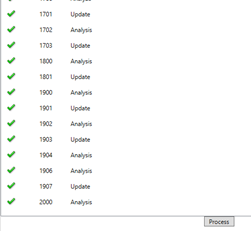
Once "Process" appears at the end again, the update is complete -> Close the window.
After completing the update, start SOLIDWORKS and check whether the correct path for the updated Toolbox is specified under Tools > Options > System Options > Hole Wizard / Toolbox.
Check the updated Toolbox files (from point 3) back in.
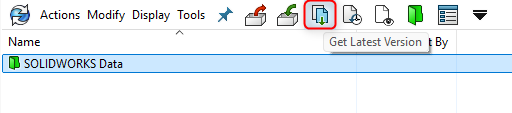
Select the SOLIDWORKS Data folder and click "Get Latest Version" (or right-click the "SOLIDWORKS Data" folder and select the "Get Latest Version" option from the context menu).
Updating Additional Client Computers:
Log in as a user who has at least read permission for the Toolbox folder on the other client computers. Repeat step 10.
Furthermore, ensure that all client computers in your environment use the same Toolbox path in PDM. This is specified in SOLIDWORKS under Extras > Options > System Options > Hole Wizard/Toolbox.